
The following steps show how to export an InPage file as picture and send it as an attachment using Campus Manager
STEP-1:
Open a new InPage Document as shown below:
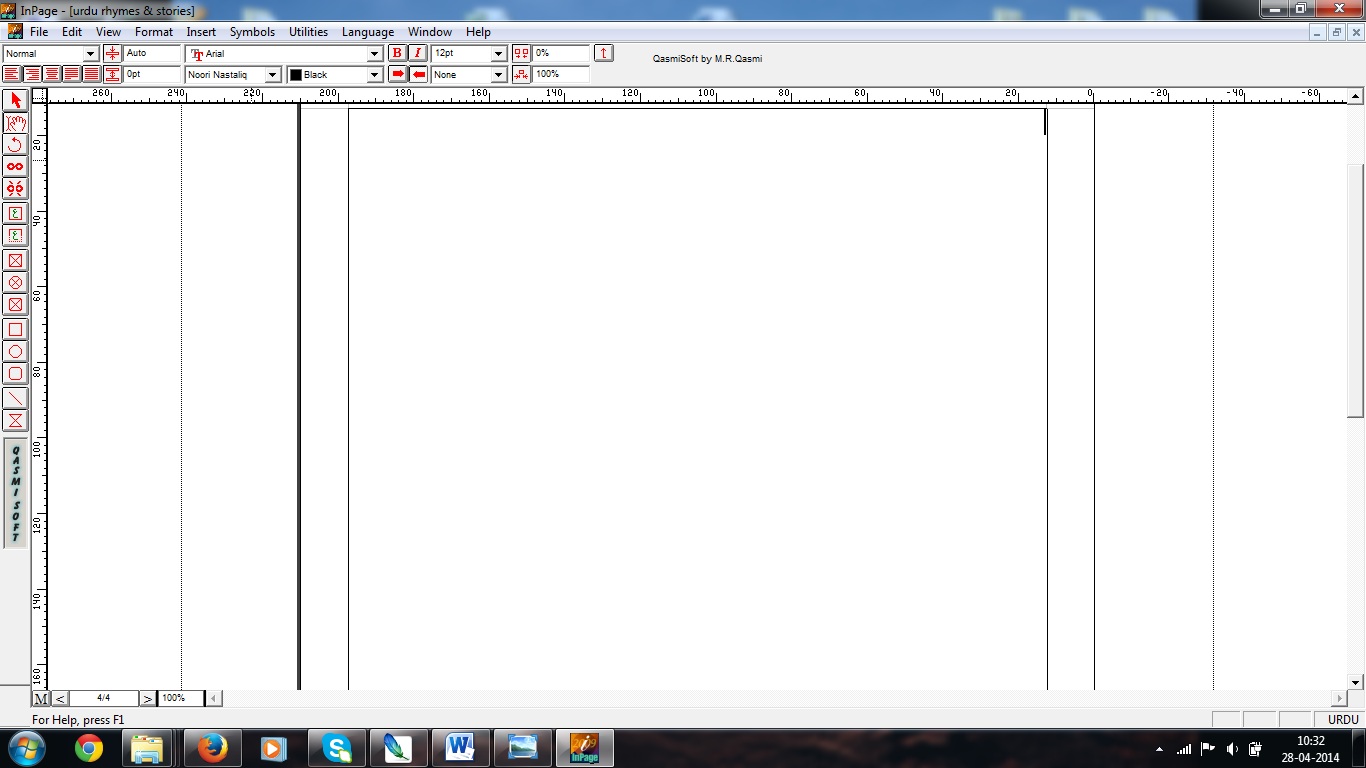
STEP 2:
Write the text in the Document as shown below:
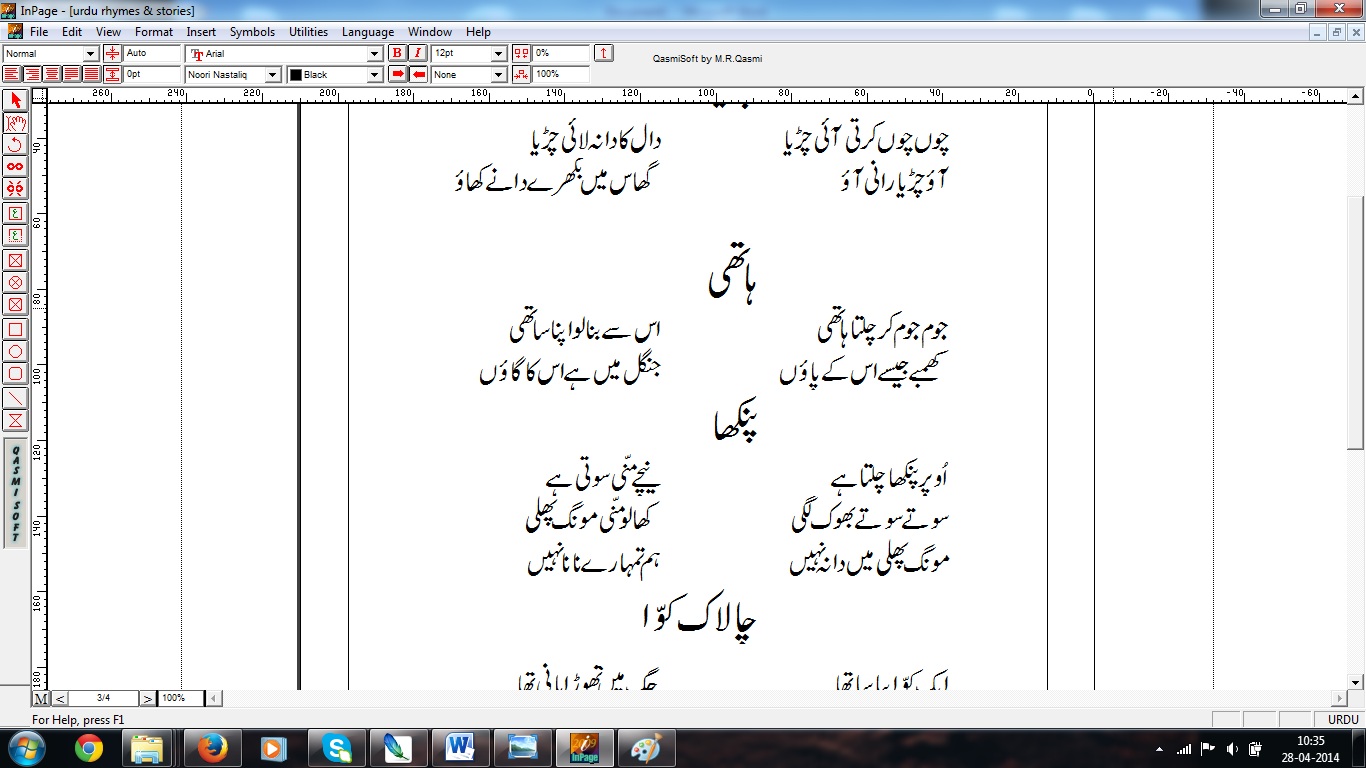
STEP 3:
Open the file menu and click on Export page option as shown below:
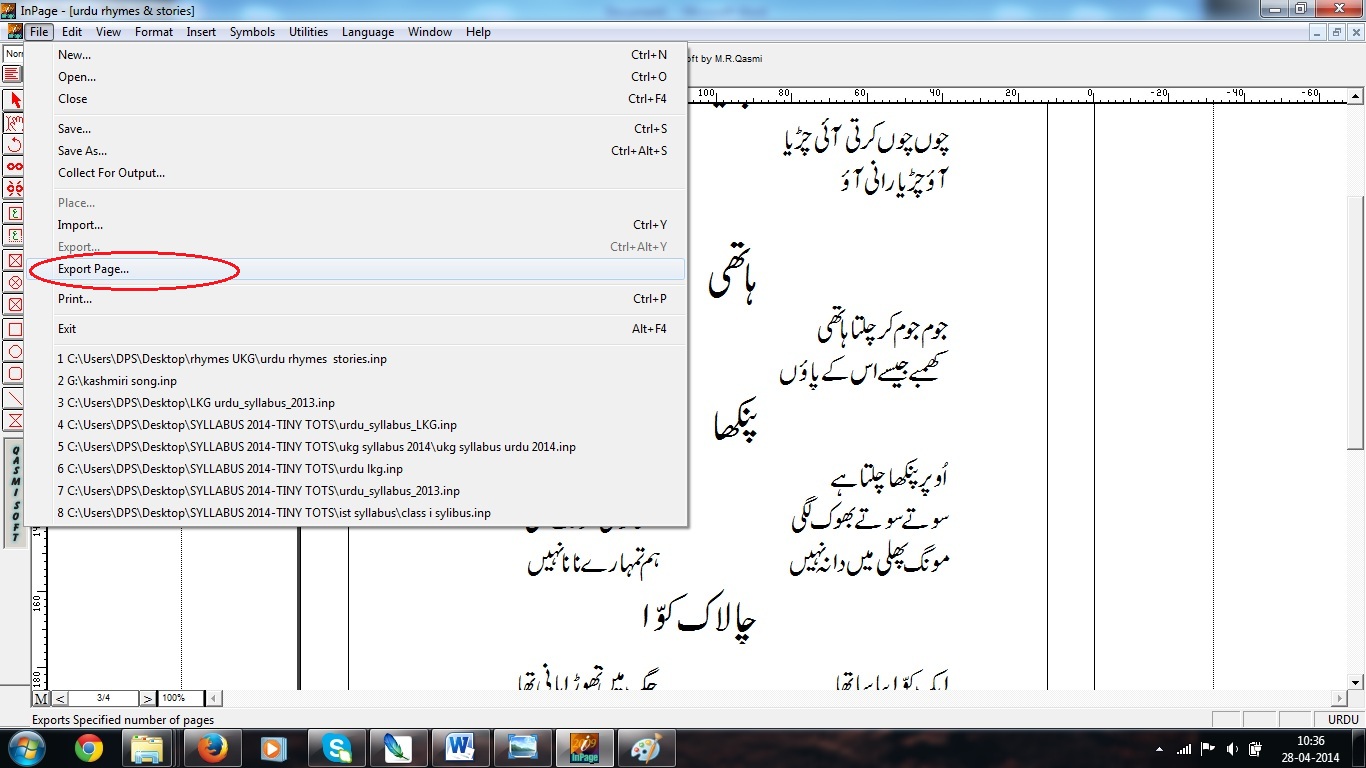
STEP 4:
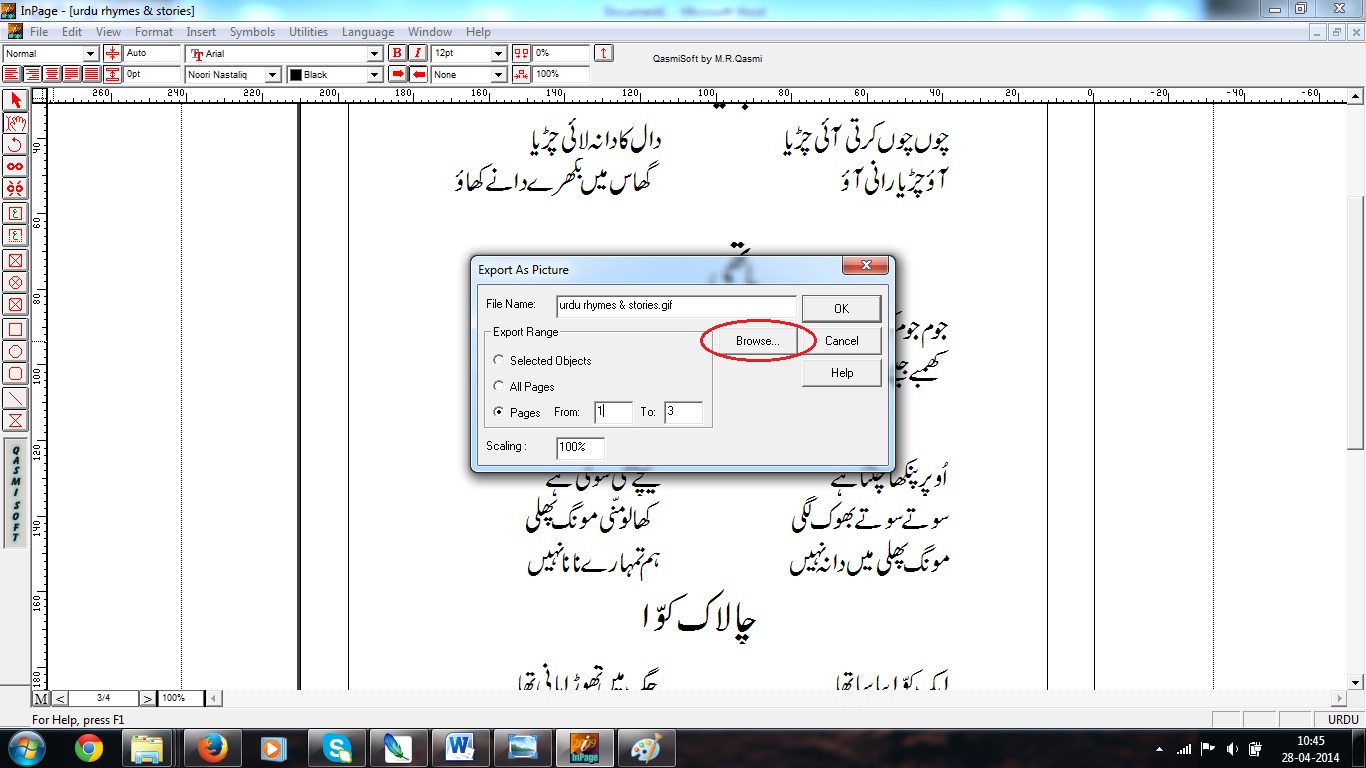
A dialog box “Export as Picture” opens. Select the number of pages to be changed into images as shown below:
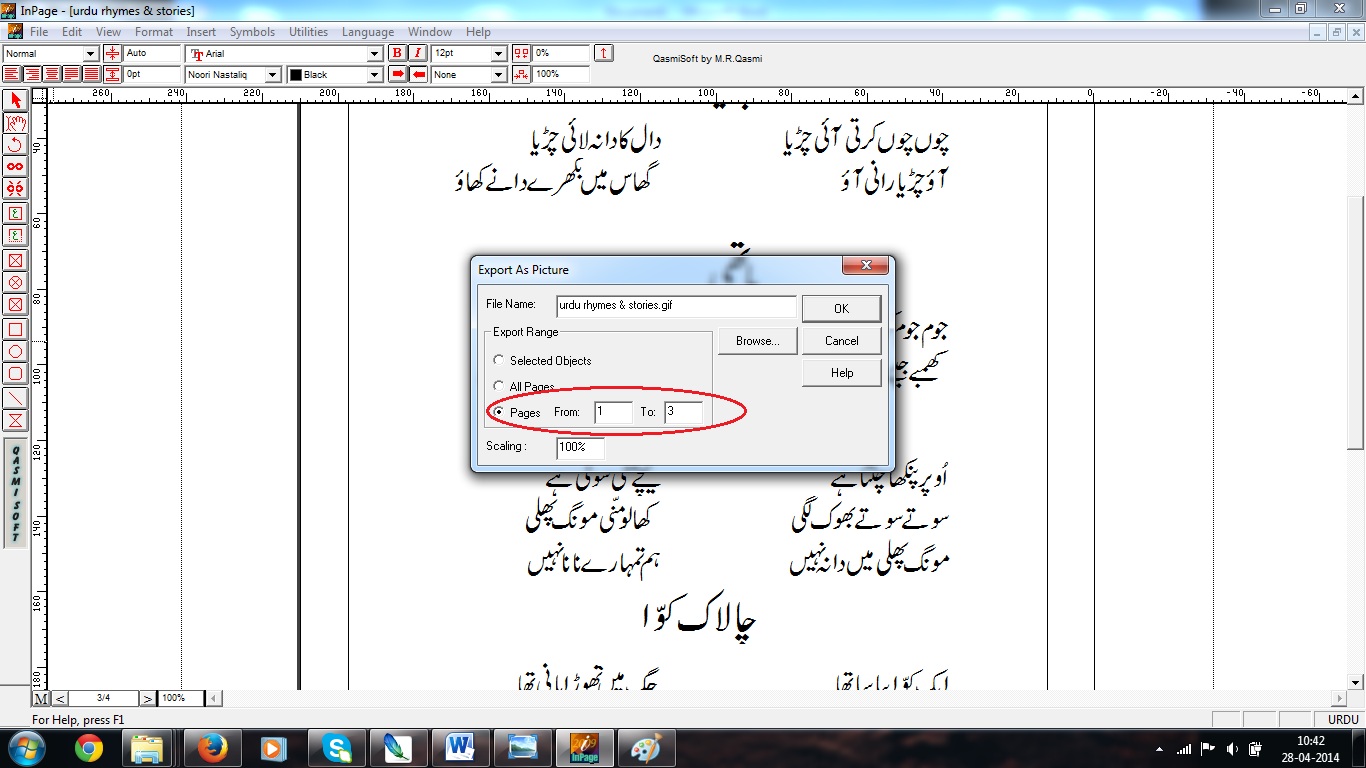
STEP 5:
Click on the Browse option in the dialog box as shown below:
STEP 6:
Another dialog box “Export as a Picture” opens as shown below:
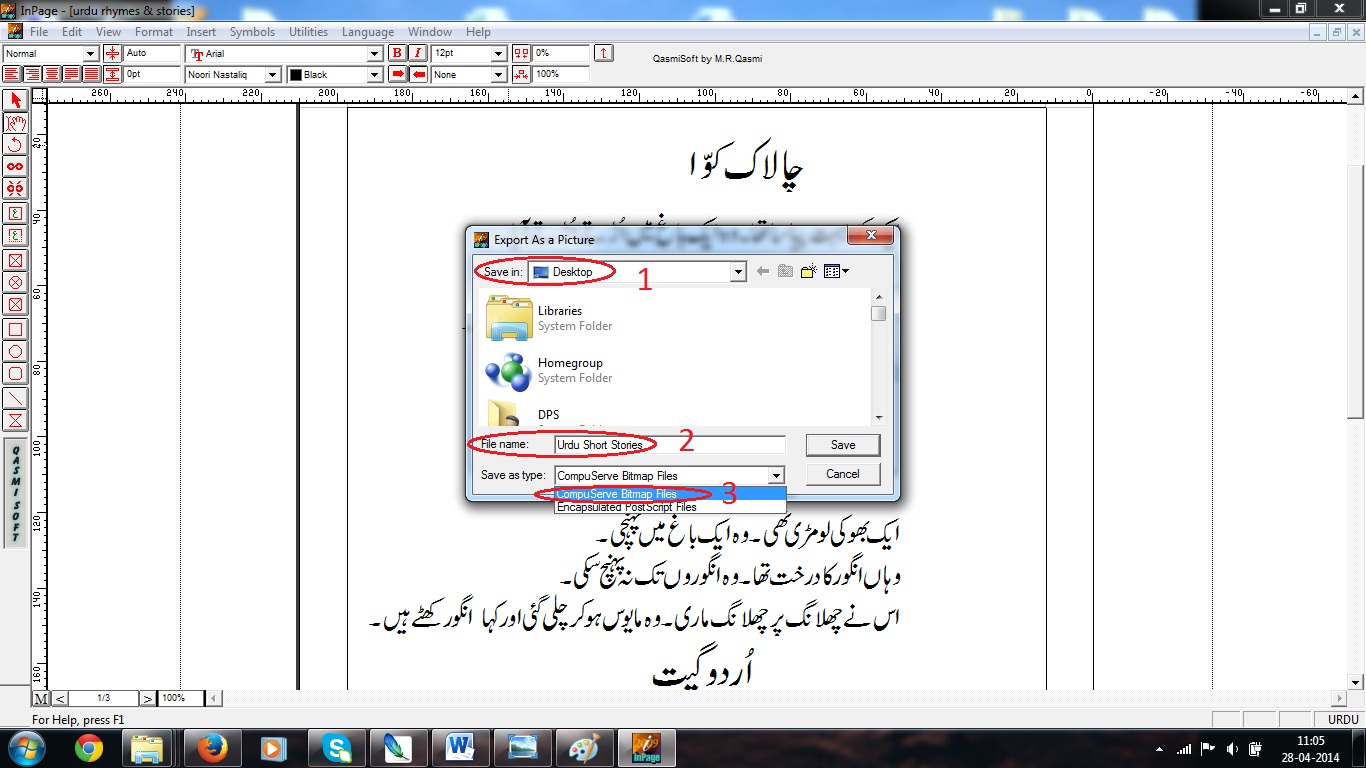
- Choose the location to save your images.
- Give name to your created images
- In “Save as type”, select “CompuServe Bitmap Files” option.
- Click on “Save” button and the dialog box disappeares.
- Click on “OK” button in the former dialog box.
STEP 7:
- Open your Campus Manager Account.
- Go to Messages and Click on Compose button.
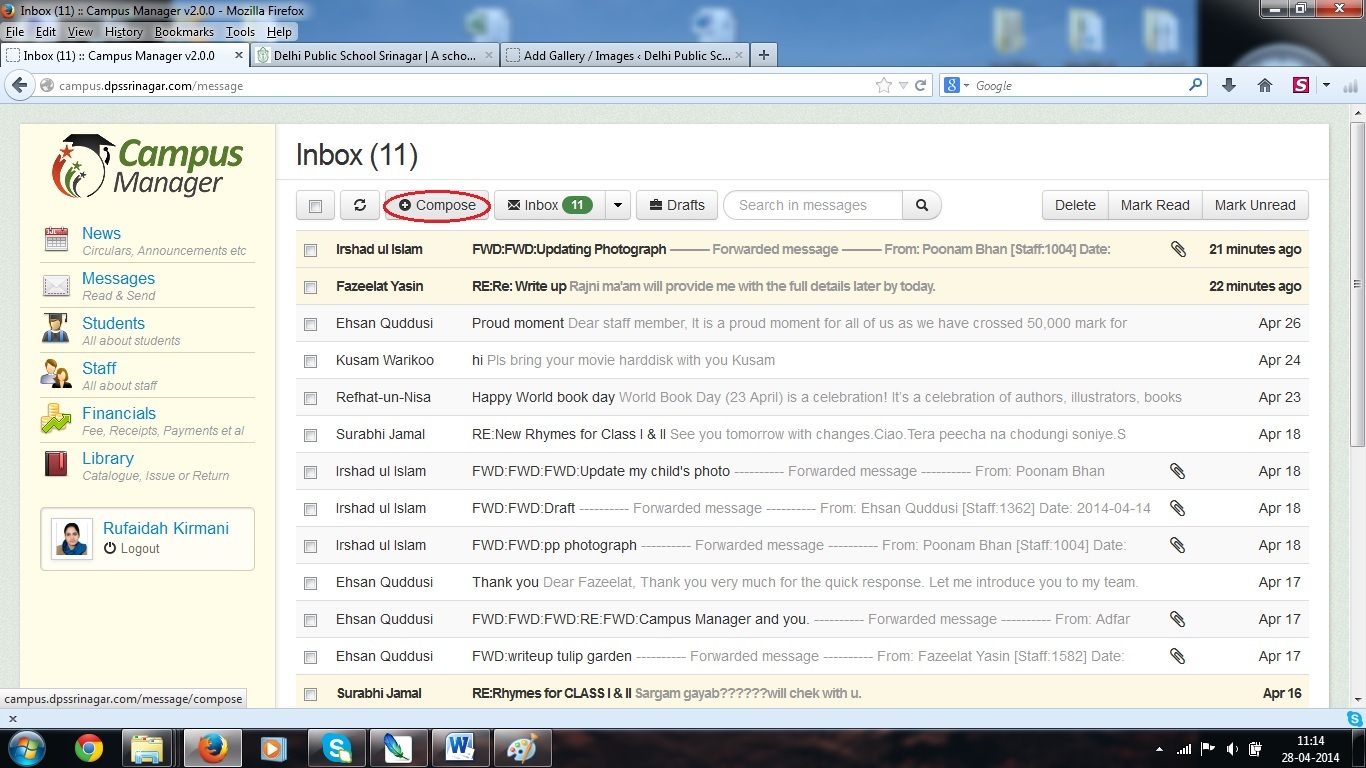
- Select the recipients, enter the Subject, and enter the text message as shown below:
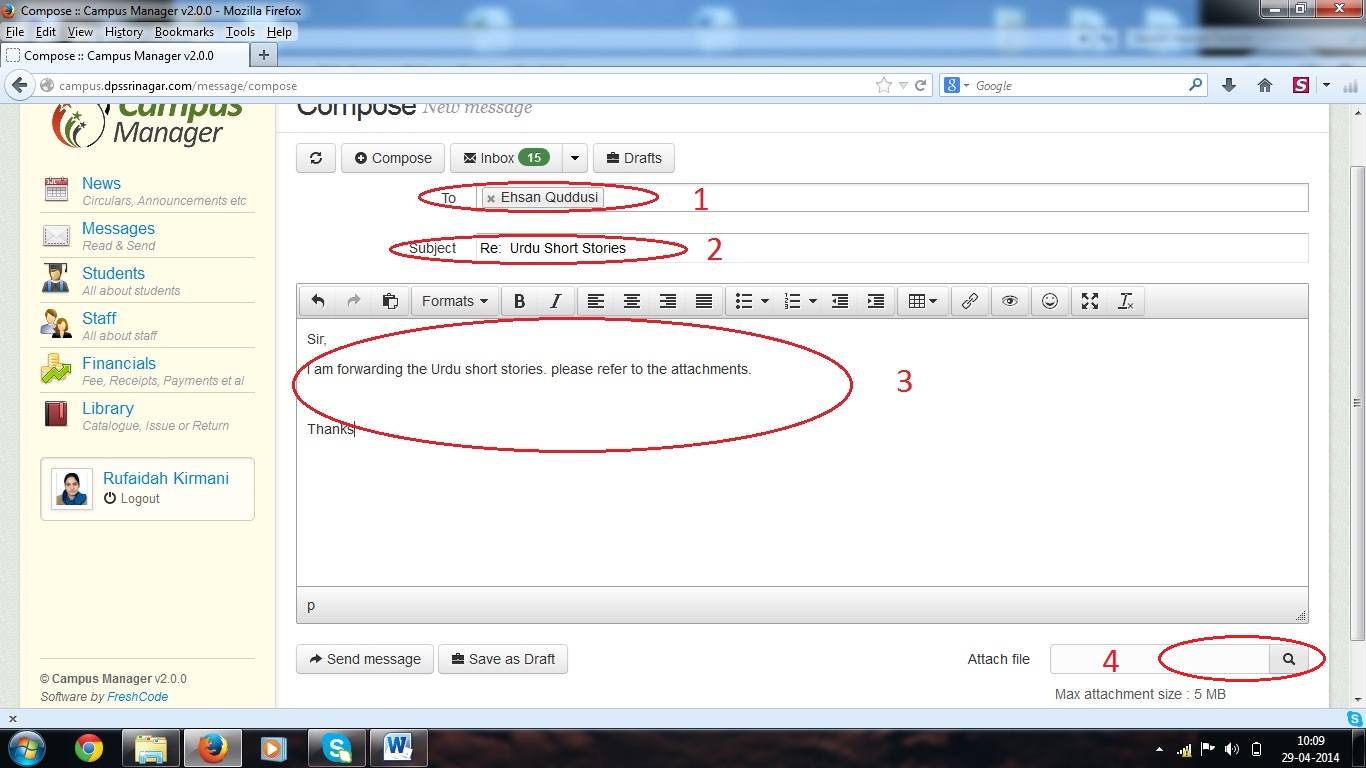
- Click on the attachments button to browse the files to be attached.
STEP 8:
A dialog box appears as shown below:
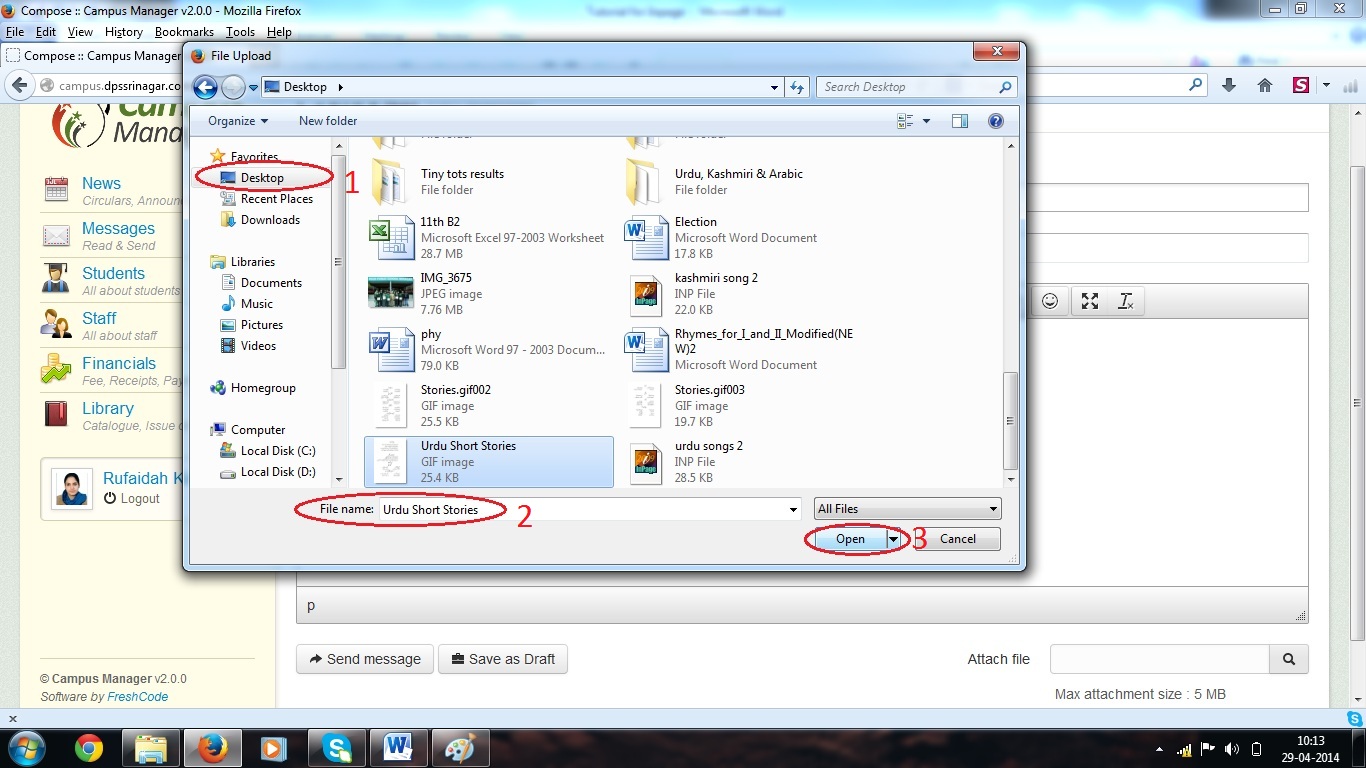
- Choose the file location.
- Select the image (file) to be attached.
- Click on the “Open” button.
(Note that you can attach only one file with one message)
STEP 9:
Click on Send Message button to send the message as shown below:
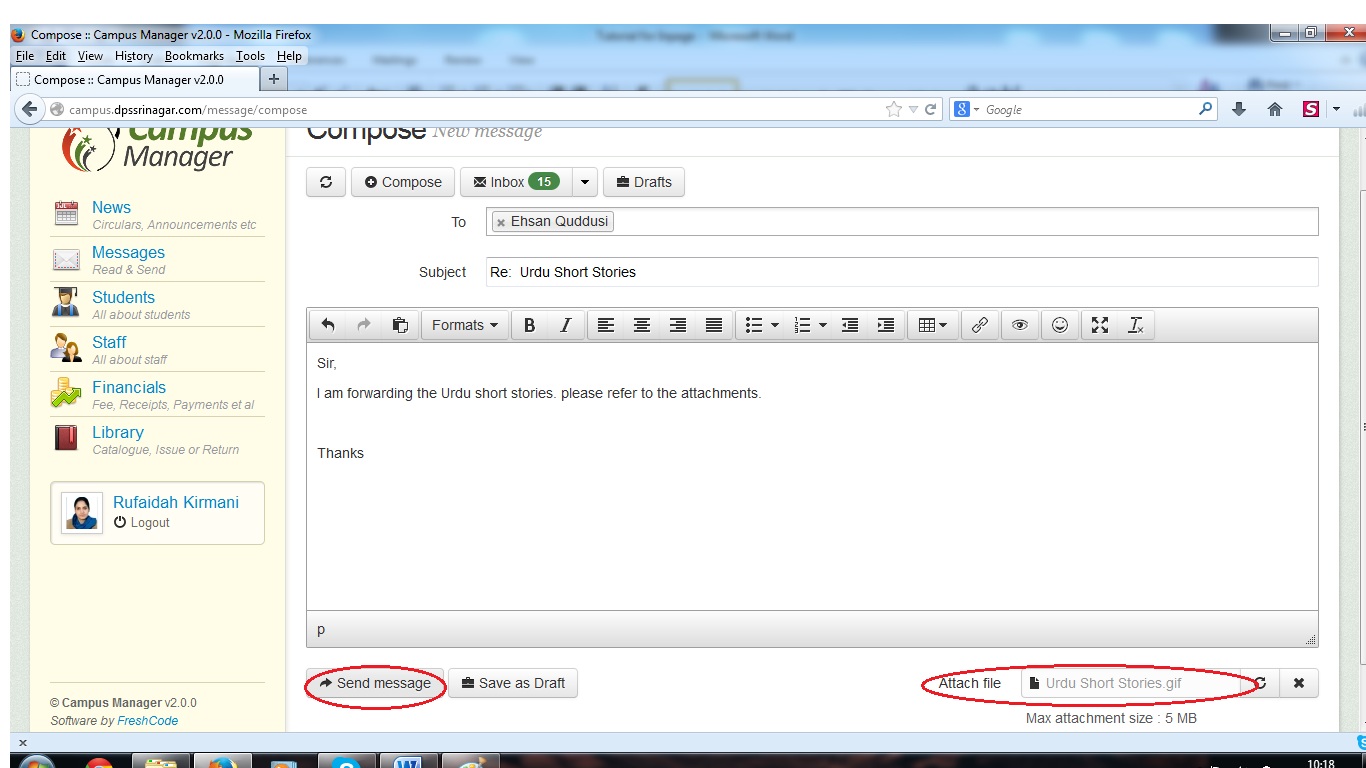
- You will receive the message “Your message has been successfully Sent”.
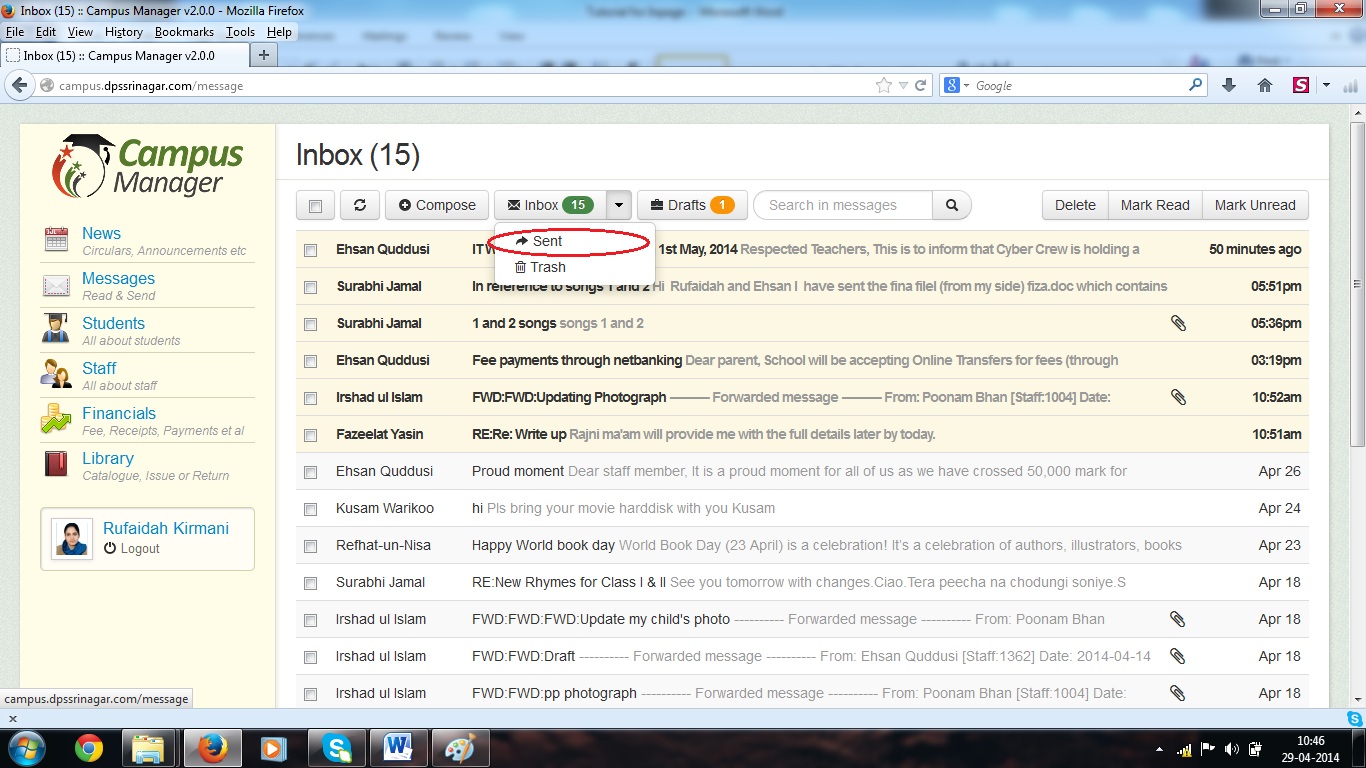
- Check your sent messages to confirm that your message has been sent.
(To check sent messages click on the pop-down menu at inbox button as shown below:)


")


