
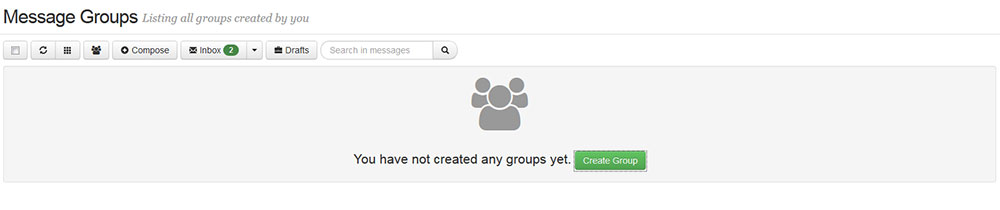
As on 6th May, 2014, there is a new feature in Campus Manager to create message groups which enables sending a single message to the group. You can access this feature on the message toolbar.

Click on the icon highlighted above. This will open up a new page, which will display all the groups available to you. You can create new groups from this page.
Click on Create group button to create new group. A window will open up where you need to fill in details about the group alongwith its photograph.
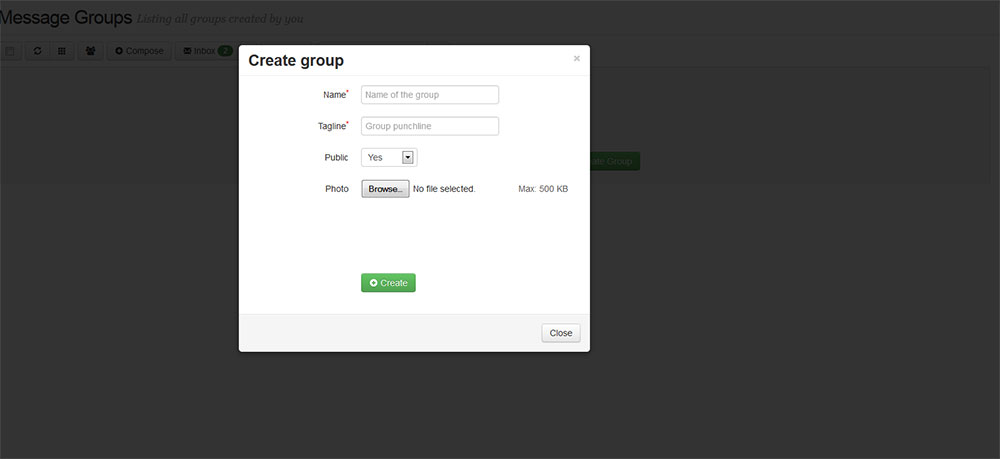
On the screen, you can see a dropdown with label as Public. This allows you to create public/private groups.
Public group is a group which will be available to all of its verified group members. On adding a new group member in public group, an invitation will be sent to that member and upon accepting the invitation, the member will become verified and the group will be available to that particular member as well.
Private group is a group which will be available to its owner (you) only. You can add members members like Public group, but the group will not be available to others members, like Public group.
After filling in all the details about the group, you will be directed to new page, wherein you can add new group members.
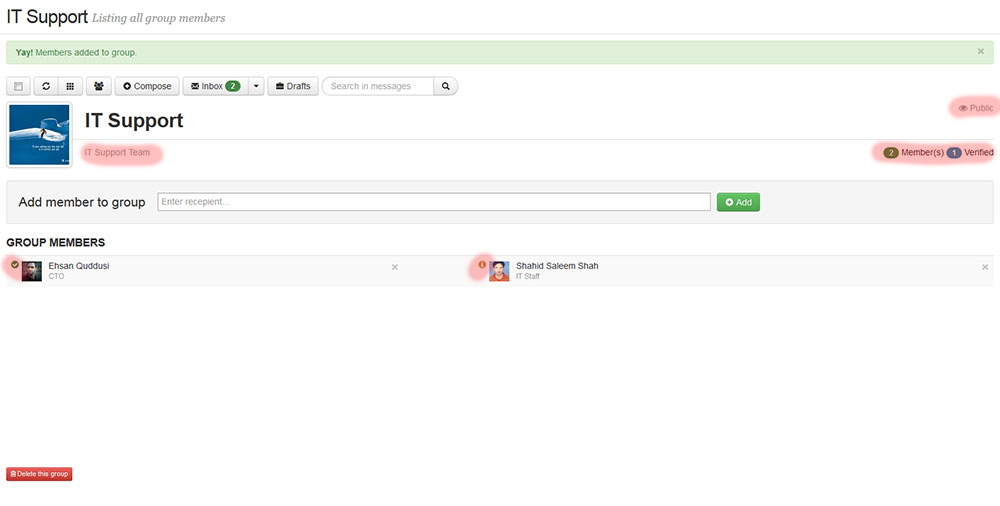
In the above screen, you will see list of members alongwith status icon (highlighted in red) which determines their group status (Verified / Not Verified). Verified (invitation accepted) is indicated by green tick icon while as Not verified (invitation pending) is marked as red exclamatory icon.
You can invite new members to the group and they will receive invitation in the toolbar as shown below.

Click on the Count (highlighted above) to open group invites page. You can accept or delete a group invitation on that page.

You can create as many groups as you want to ease your day to day messaging.
Happy messaging!


